CHRYSO®Texture Top

Process
Applying a colored coating to existing concrete is an aesthetic, simple and durable solution for renovating or repairing aging floors. CHRYSO®Texture Top allows you to breathe new life into both exteriors and interiors, quickly and easily.
A solution with multiple advantages, textured concrete offers a variety of possibilities in terms of appearance.
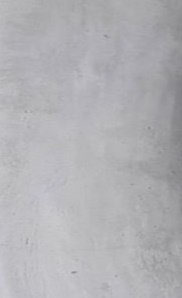
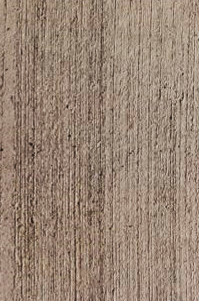
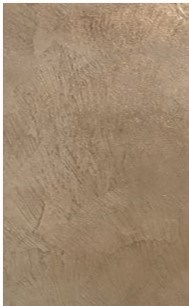
CHRYSO®Texture Top is available in 5 finishes: smooth troweled, butterfly, brushed, sprayed and screened. Original and differentiating, the process can be personalized according to taste.
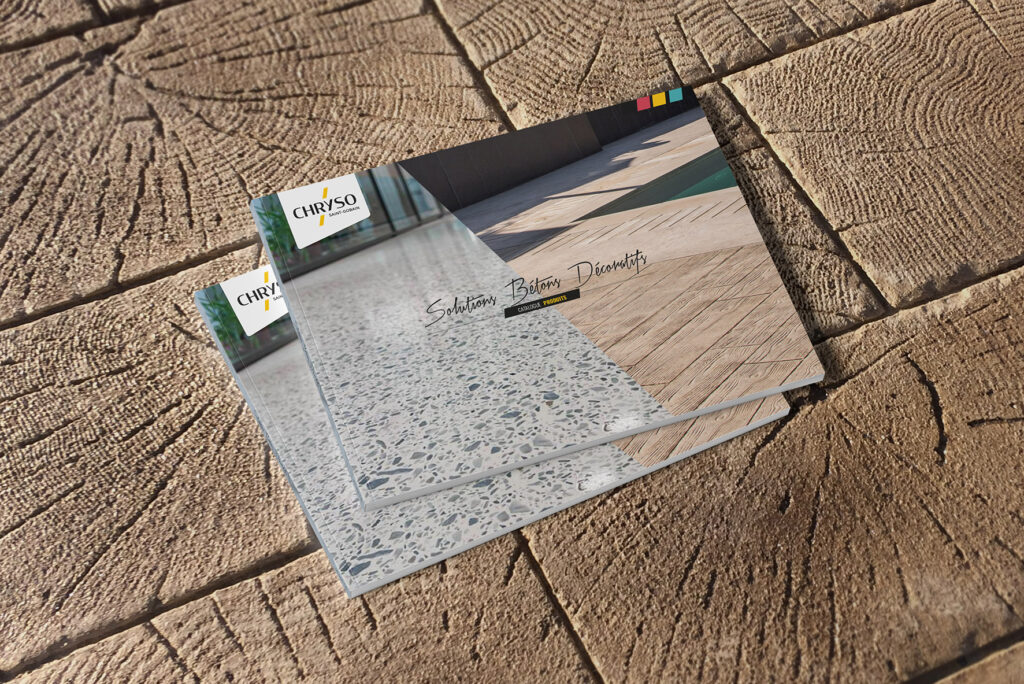
Technical documentation
Advantages of the process

Sustainable solution

Millimeter solution
Anti-slip coating

Customizable solution
Products
CHRYSO®Texture Top L1
CHRYSO®Texture Top L2
CHRYSO®Texture Top P1
CHRYSO®Texture Top P2
Implementation
1. Prepare the support
2. Application in 5 steps:
- Apply the colored base
- Sanding with a single-brush machine
- Vacuum then moisten the support
- Apply the top coat
- Sand if necessary
3. Vacuum the support
4. Protect the surface
1. Prepare the support
2. Apply two coats of product with a squeegee
3. Brush to texture the still fresh surface
4. Protect the support
1. Prepare the support
2. Application in 4 steps:
- Apply the colored base
- Position the frame
- Apply the top coat
- Remove the frame
3. Brush the surface dry
4. Protect the support
1. Prepare the support
2. 3-step application:
- Apply a first coat of product with silica
- Apply a second coat of product with a small iron smoother for a rough finish or a rubber squeegee for a soft finish.
- Sand the surface with a single-brush machine
3. Protect the support
1. Prepare the support
2. Application in 6 steps:
- Apply the colored base
- Position the adhesives
- Apply the top coat
- Apply the patinas or pigments
- Sand the surface with a single-brush machine
3. Protect the support
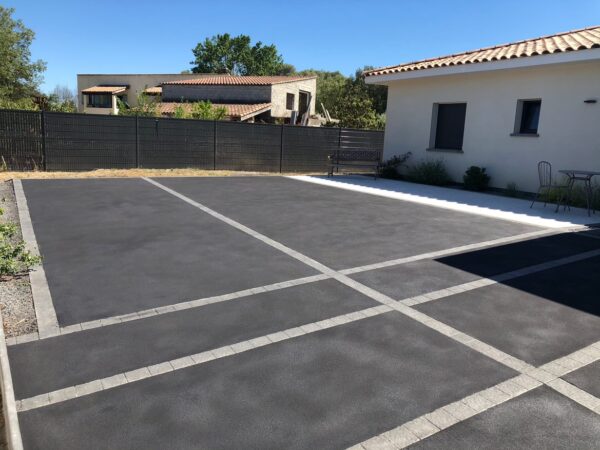
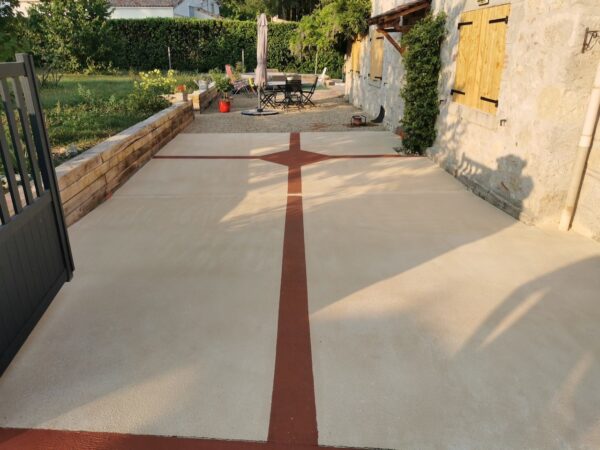
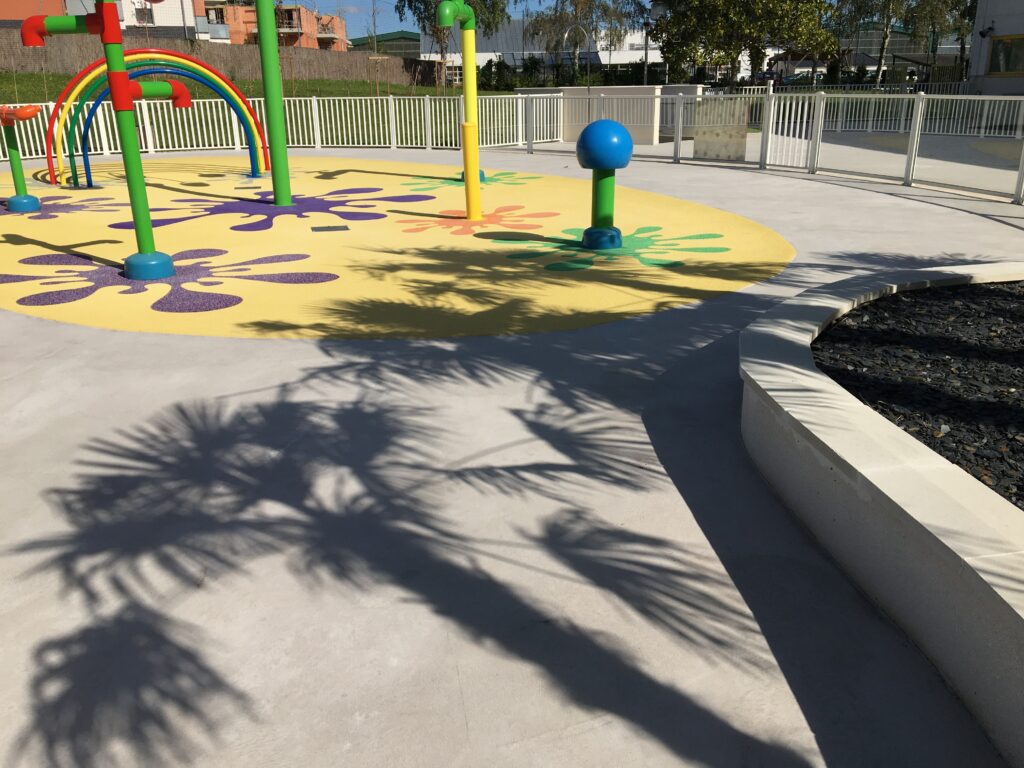
Fields of application
Urban developments
Access roads, esplanade, sidewalks, theme park…
Residential
Paths and gardens, terraces, pool areas, stairs…
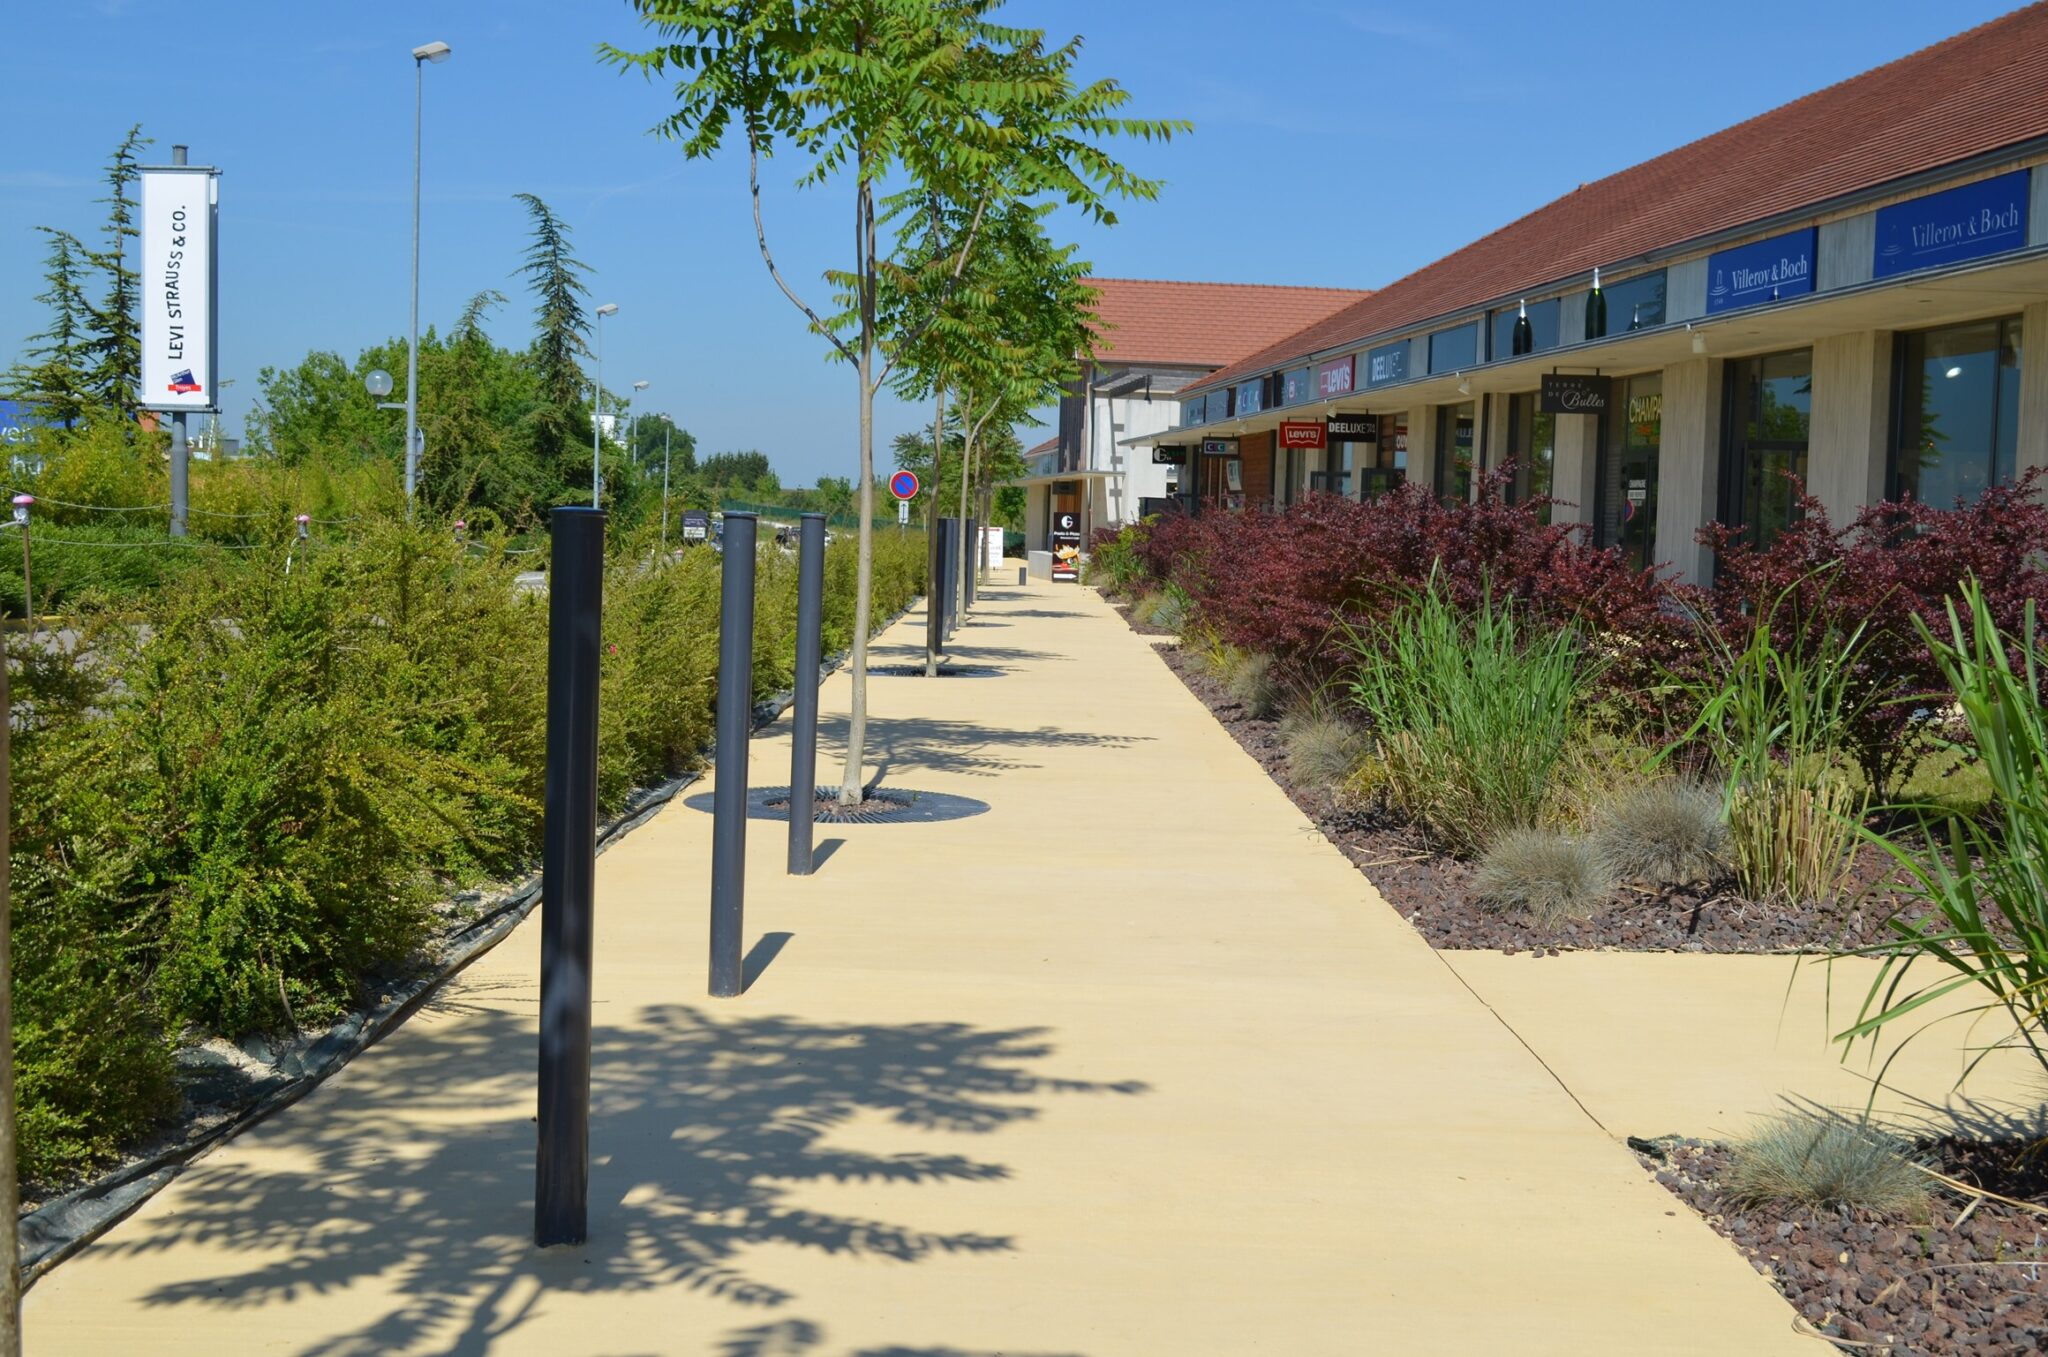
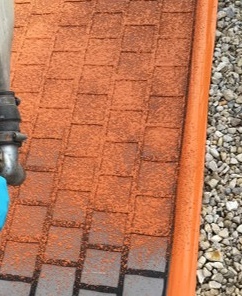
Construction site reference
Challenge met with the CHRYSO®Texture Top solution for the renovation of this swimming pool surround located in Pompignac (33):
- smooth finish cappuccino color
- uniform coating
- anti-slip solution
Applicator: OMNI PLUS
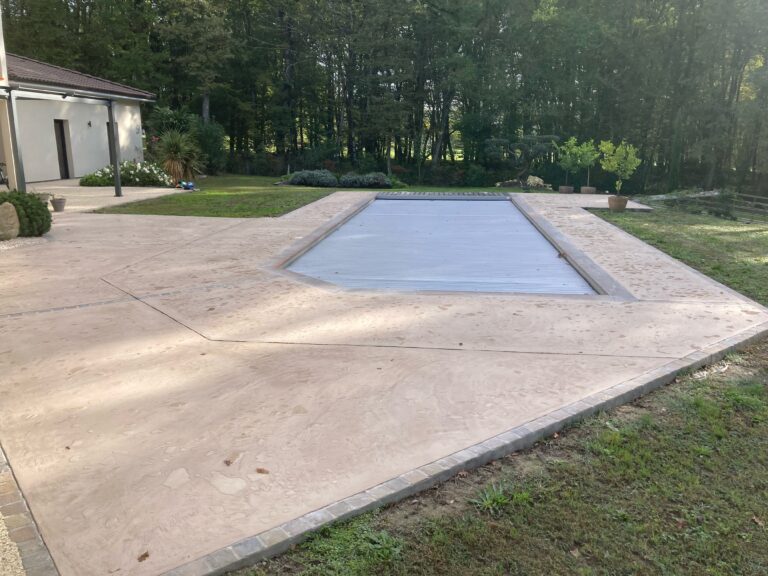
Photo Gallery


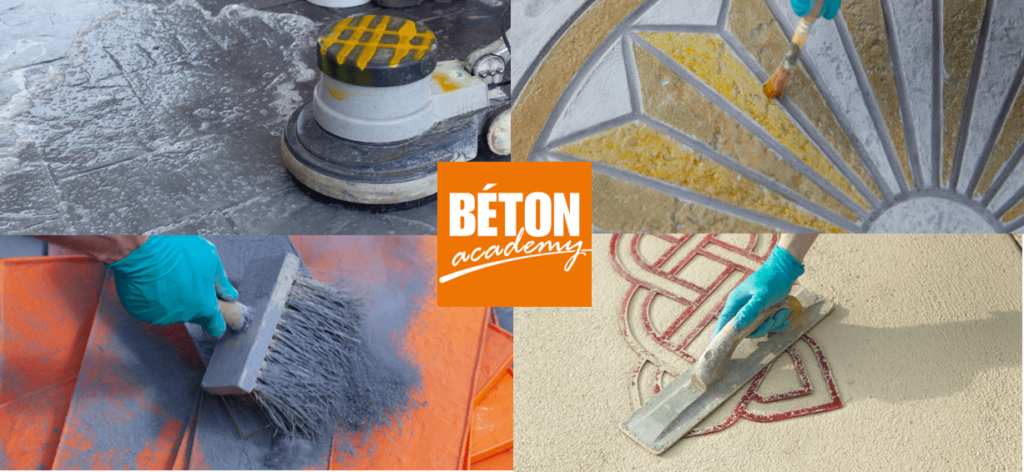
Learn about decorative concrete with Béton Academy!
The Béton Academy center offers one- to two-day training courses to learn how to renovate decorative concrete floors.
LEARN MORE ABOUT BETON ACADEMY